How to make a Capacitive Stylus for Android/iOS Touch Screens
Capacitive Stylus – How to make your own
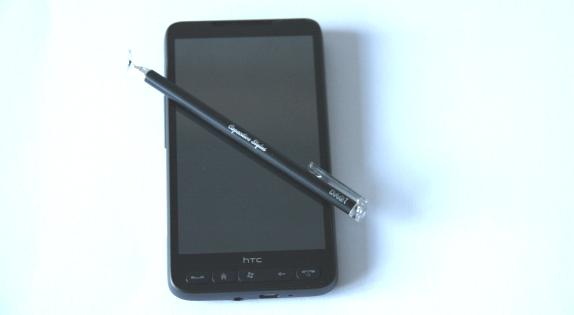
Capacitive Stylus’ are easy to make. I made one for my Samsung Galaxy Tab 10.1 and it works great with that, my HTC Desire, Galaxy Ace and my iPod Touch. Capacitive Stylus are quite expensive to buy and that’s the main reason to make your own, you can do it for just a few pence.
All you need is:
- a pen like item (I’ve use actual pens, pencils, paint brushes)
- some tin foil
- sponge
- optional – sticky tape
Capacitive screens use the electrical charge from your skin to tell it where you are touching, all you have to do is get a stylus that does the same – a capacitive stylus. This is where the tin foil comes in, it conducts electricity. So does the sponge, and the sponge has the added benefit of being soft so it doesn’t scratch your screen.
Method:
Simply take your pen like item and wrap some strips of the tin foil leaving a bit of a gap at the writing end. If you want you can now stick the foil down so it doesn’t unravel but the less tape the better. Then take the sponge, it’s best if it’s cut into a thin rectangle, and pull it tight over the writing point, at this point it will work but the sponge will fall off so either tape the sponge now or wrap more of the foil around it to keep it from dropping off. Make sure that the sponge touches the foil. You now have a home made Capacitive Stylus.
It’s ready to use now but it’s hit and miss that it will work like your finger. If it doesn’t work at this point, don’t worry, some sponges need to be wet as capacitive screens work using the electrical charge from your skin – I believe it’s similar to the Galvanic Skin Response used in lie detectors and early mind controlled devices. To get the electrical charge to conduct better you need to wet the sponge on your newly made capacitive stylus, don’t dip it in water tho, that would make it too wet, just lick your finger/dip it in water and use that to wet the sponge. It will now work once it’s slightly wet.
This works by passing the electrical charge from your skin through the tin foil and into the sponge (that’s why sometimes the sponge has to be wetted, not all sponges conduct electricity well) it then passes into the screen to create a ‘touch event’. There are other ways to make one of these but this is by far the easiest method.
The point of me making a capacitive stylus was so I could use the Photoshop app on my Android tablet to paint with more accuracy. It works as it should, in fact it even works better than the capacitive stylus I bought off ebay! Meaning that for a few pennies you can make something better than a factory manufactured version. If you have £10-20 to spend they you will get something better than one you can make yourself in a few minutes but who has that kind of money to spare on something that you won’t use that often? I mean stylus have their place (graphics design to name just one) but as Steve Jobs says: “It’s like we said on the iPad, if you see a stylus, they blew it.” How often would you use one? And if you were a full time graphics designer you would use a graphics tablet instead of a tablet PC wouldn’t you? There is no point in paying anything for something that you can make with stuff laying around your house and if you don’t have the stuff to make a capacitive stylus around your house it’s still cheaper to buy all the things to make a dozen of them than it is to buy a pre-made one.
I’m going to make a video of this later on that I will add to this post.

Pingback: Home Made Capacitive Stylus - Pattonwebz ProjectsPattonwebz Projects